Sunday, May 22

earl grey tea cake


I adore this time of year. With the change of weather, a clear day's sky actually looks blue, in comparison to the harsh bright white sky I squint through over the Summer months. I love being able to enjoy the Brisbane sun without the humidity. And with the mornings' temperature quite abruptly dropping, it's so easy for a simple cup of tea to seem to much better than I ever remembered. So as my tea consumption hits an all-year high, I of course need a new tea cake recipe to accompany my all-time favourite beverage.

Ingredients

1 cup chopped fresh dates
1 tsp bicarbonate of soda
3/4 cup freshly brewed earl grey tea
2 apples, peeled and grated
1 1/4 cups self raising flour, sifted
3/4 cup brown sugar
150 gms unsalted butter, melted
1/4 tsp ground vanilla bean (or 1 tsp vanilla extract)
4 eggs


Preheat oven to 160C. Grease and line a 10-cup capacity loaf tin with baking paper - I used a standard sized tin and four mini loaf tins.

Place the dates, tea and bicarb soda in a bowl and set aside for 10 minutes. Using a stick blender, blend the date mixture until smooth. Alternatively, process in a blender or food processor.


Place the apple, flour and sugar in a bowl and mix to combine. Add the butter, eggs, vanilla and date mixture and mix well to combine. Spoon into your loaf tin/s, and bake large loaf for 40 - 55 minutes (small loafs for 20 - 25 minutes) until cooked when tested with a skewer. Allow to cool in tin for ten minutes before turning out on a wire rack.


This is such an incredibly quick and easy recipe, and the result is perfect straight from the oven with (or without) a nice melty patch of butter, or even toasted until slightly crispy on the edges. I've since frozen the remains of this batch and look forward to getting a mini-loaf out of the freezer each day. It's also nice to have a tea-style loaf that isn't filled with banana, given their insane prices right now. 


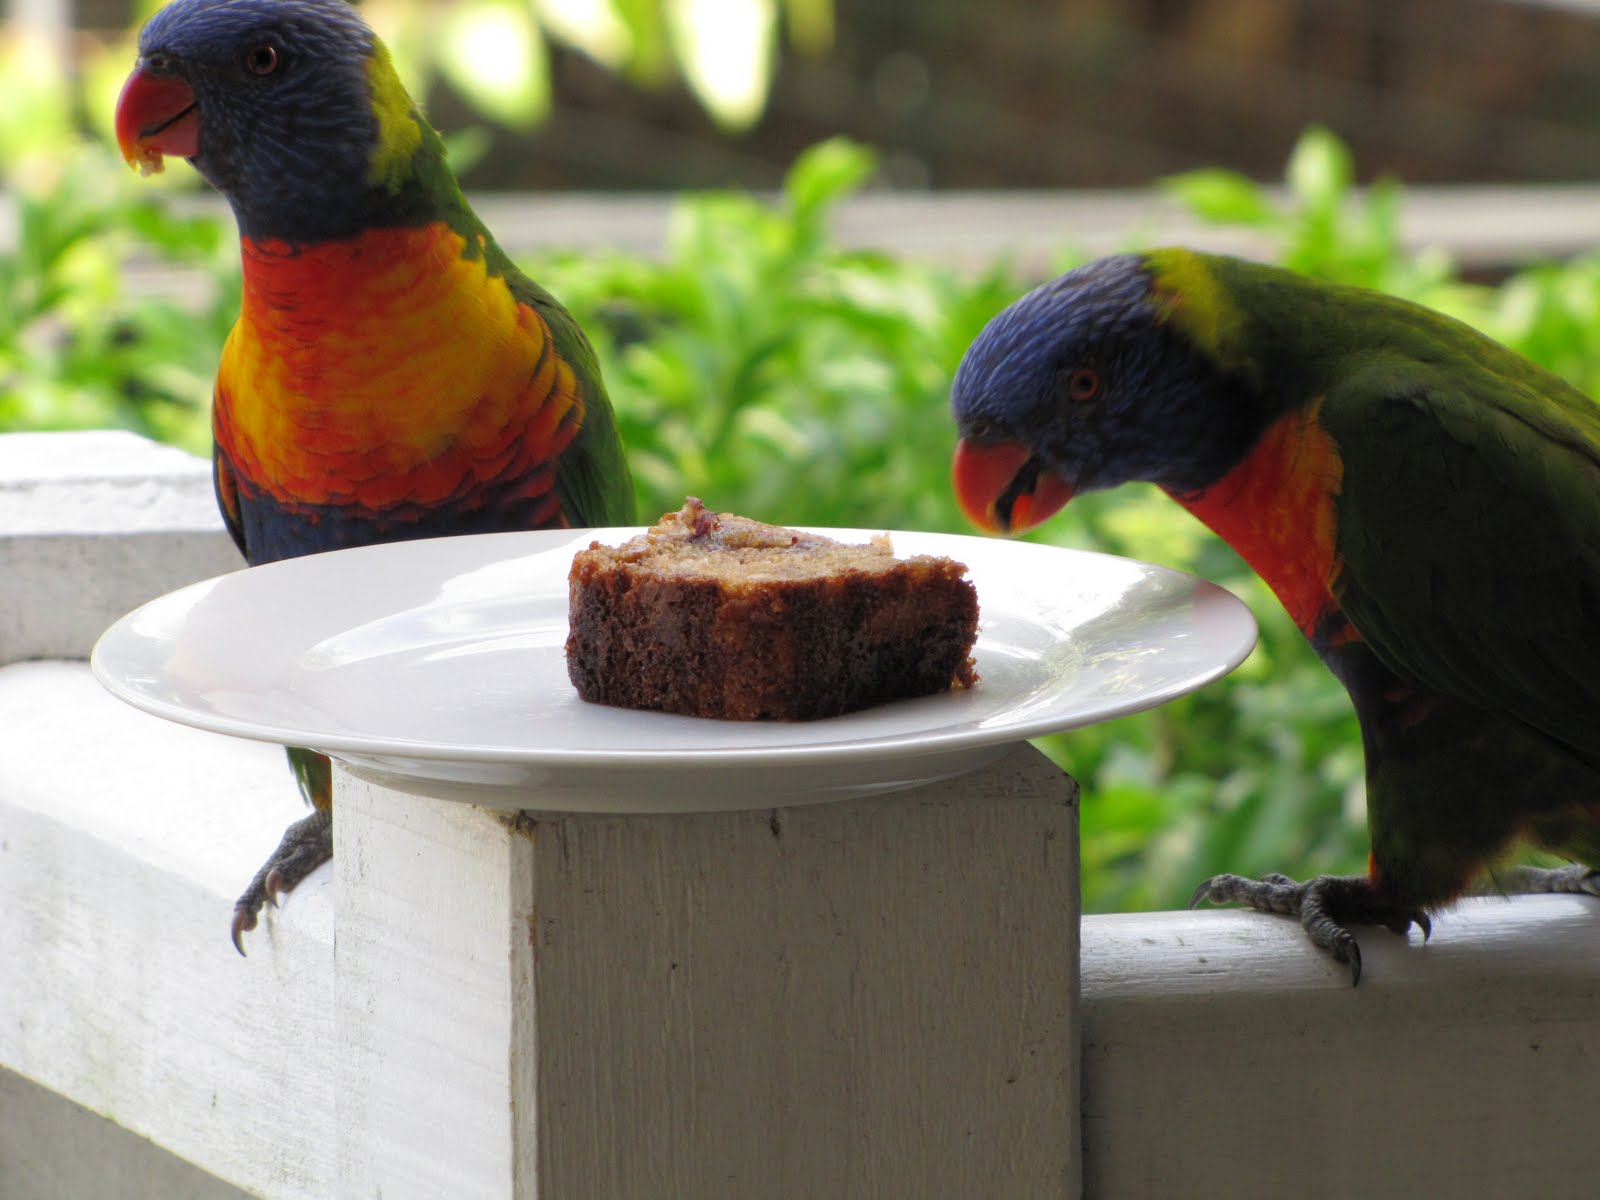
Even our neighbourhood birds enjoyed a slice or two. 


Recommended baking soundtrack: Okkervil River - The Stand Ins

Tuesday, April 26

chocolate & sour cherry hot cross buns


Apologies in advance: I am the reason hot cross buns are sold in January. I will buy them as soon as they're available and continue to do so until all that remains are the squashed, discounted remnants the masses of frenzied shoppers leave behind post-Easter weekend. Despite not being big on fruit peel, I love the hot cross buns' perfect balance of spice and fruit and their imperfect crosses. Yes, I realise supermarkets sell the cross-less varieties all year round, but it's not the same! And yes, I realise I could make my own at anytime of year. You have a point...

I'm a traditionalist, and have always preferred the original variety. So despite previously scoffing at those who buy fruitless or chocolate varieties, I was strangely compelled to include chocolate in my hot cross bun recipe to compliment the sour dried cherries I have finally found after so much searching. I still managed to stuff some spices into the recipe, though. How could I not?

Ingredients (makes 12 buns)

For the buns:
2 tbsps dried yeast
1/4 cup caster sugar
1 1/2 cups warm milk
4 1/4 cups plain flour
2 tsps all spice
2 tsps ground cinnamon
50 gms butter, melted
1 egg
1/4 cup caster sugar, extra
200 gms dried sour cherries
100 gms dark chocolate, chopped roughly.

For the crosses:
1/4 cup plain  flour
1/3 cup water

For the glaze:
2 tsps sugar
1 tsp powdered gelatine
1/4 cup water

Combine the yeast, sugar and milk in a bowl. Set aside for 5-10 minutes or until bubbles form on the surface.
Place the flour, dried cherries, chocolate, spices, butter, egg, extra sugar in a large bowl. Form a well, and pour in yeast mixture. Mix with a flat blade knife until a sticky dough forms. Knead on a lightly floured surface for 5 minutes or until dough feels smooth and elastic when pressed. Push in any cherries that fall out whilst kneading back into mixture - this tends to happen a lot! Place in an oiled bowl, cover with a tea towel and stand in a warm place for 30 minutes or until doubled in size.

Lightly knead the dough again, twist to divide dough in half. Half each half, and then divide each piece into thirds. Or, less confusingly, divide into twelve even pieces. Roll each into a ball. Place in a 23cm square cake tin lined with non-stick baking paper - they will be touching, but will break apart easily when baked. Cover with a clean tea towel and set aside in a warm place for 25–30 minutes or until doubled in size.


Meanwhile, preheat oven to 200C. To make the crosses, place the flour in a small bowl and gradually and water, stirring, until you're able to make a smooth paste. Place in a piping bag with a small round tip, and pipe crosses onto the buns. Bake for 30 minutes or until well browned and springy to touch.


Meanwhile, for the glaze, combine the sugar, gelatine and water in a small saucepan over medium heat and stir for 2 minutes or until dissolved. Using a pastry brush, brush warm buns with the glaze and eat immediately! 


These are a little less resilient than the store-bought and preservative-pumped variety, and are best eaten within a day or two of making, but will freeze incredibly well if you need. They are wonderful toasted with or without butter, as the chocolate chunks go all melty and delicious. Alternatively, if you need a recipe to use the last of your buns, come back soon!


Recommended baking soundtrack: Emily Haines & The Soft Skeleton - Skeletons Don't Have Your Back.

Monday, April 25

happy easter, internet

Yesterday I was lucky enough to celebrate Easter Sunday with my family - including my adorable almost-six-month-old nephew - and share this four-tiered creamed honey cake with them. Despite not being able to consume cake, said nephew did have his first taste of chocolate custard. Don't worry Xander, there'll be plenty more opportunities for cake...

Surprisingly, I am yet to overdose on chocolate, but I still have three two more days to accomplish that feat. 


I hope anyone reading has had a delightful Easter break so far.